
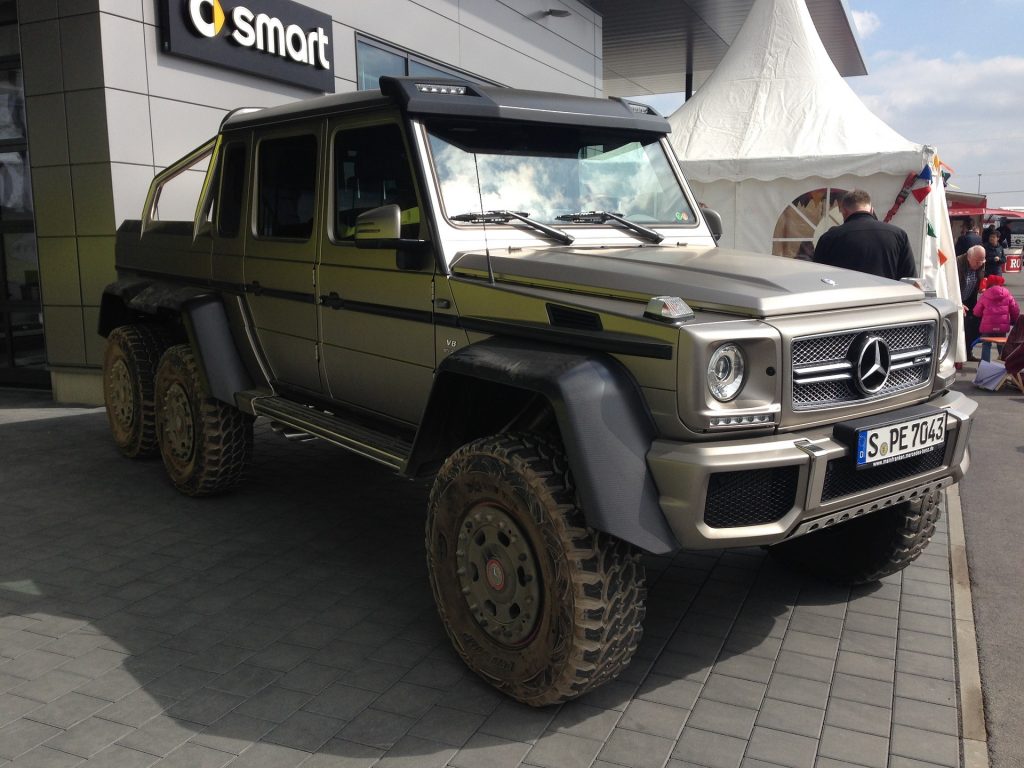
Tu aimes ta voiture, pour les services qu’elle te rend tous les jours, pour allez au travail, au sport ou simplement pour le plaisir qu’elle te procure ? Quoi qu’il en soit, tu sais qu’il est important de prendre toutes les mesures nécessaires pour l’entretenir correctement, ce qui, il faut l’admettre, nécessite un minimum de connaissances techniques et pratiques pour entretenir sa voiture tout seul. Mais soyons réalistes, tout le monde n’est pas capable de mettre les mains dans le moteur pour faire ses réparation. Et sans des bons conseils, savoir comment le faire peut sembler hors de portée pour tout un chacun. Pour t’aider à entretenir ta voiture toi-même sans aller au garage, voici quelques conseils d’experts pour faciliter l’entretien de ta voiture.
Nos derniers articles
enjoliveur 15 pouces audi : Avis, test et comparateur

Tout un chacun en est conscient, acquérir un appareil pour son automobile comme un enjoliveur 15 pouces audi ne doit pas se faire au hasard car il est impératif d’étudier…
enjoliveur 15 pouces dacia logan : Avis, essai et comparateur
Tout le monde le sait, s’offrir un matériel pour son automobile comme un enjoliveur 15 pouces dacia logan ne doit pas être effectué sans une attention toute particulière vu qu’il…
enjoliveurs 15 pouces : Avis, test et classement
Tout un chacun le sait, acquérir un accessoire pour son automobile comme un enjoliveurs 15 pouces ne doit pas être réalisé sans une forte attention puisqu’il demeure important de se…
enjoliveurs 15 pouces peugeot 207 : Avis, essai et comparatif
Tout un chacun en est conscient, dépenser de l’argent pour un accessoire pour sa bagnole comme un enjoliveurs 15 pouces peugeot 207 ne peut pas être fait sans précautions parce…
enjoliveurs 15 pouces clio 3 : Avis, essai et comparatif
Quiconque en est conscient, s’offrir un appareil pour son automobile comme un enjoliveurs 15 pouces clio 3 ne doit pas s’effectuer sans une grande attention vu qu’il reste important de…
enjoliveur 15 pouces berlingo : Avis, test et classement
Tout le monde n’est pas sans l’ignorer, dépenser de l’argent pour un appareil pour son véhicule comme un enjoliveur 15 pouces berlingo ne peut pas se réalisé de manière hasardeuse…
Sabot de roue : Avis, essai et comparatif
Chaque personne en est conscient, acheter un accessoire pour son auto comme un Sabot de roue ne peut pas être réalisé sans une attention toute particulière puisqu’il demeure impératif de…
tapis de sol voiture Peugeot 207 Cc : Avis, essai et classement
Chaque personne le sait, dépenser de l’argent pour un appareil pour son automobile comme un tapis de sol voiture Peugeot 207 Cc ne doit pas être réalisé sans précautions du…
enjoliveurs 15 pouces ford fiesta : Avis, test et classement
Chaque personne n’est pas sans le savoir, acheter un appareil pour son automobile comme un enjoliveurs 15 pouces ford fiesta ne peut pas s’effectuer de façon hasardeuse puisqu’il reste obligatoire…